[WebGL] 14Island (1. Intuition ~ 전시작)

Intro.
퇴사 후, 모두의 연구소에서 진행한 "인터렉티브 아트 연구소"에서 전시회를 연다길래 출품하기 위해 무엇을 만들어볼까 하다가, 전부터 Awwwards에서 즐겨보던 에이전시 홈페이지에 있는 수채화 이펙트를 직접 만들어보기로 했다.
처음 봤을때는 그리 크게 어려워 보이지 않았는데, 다음의 시퀀스를 생각했다.
- 캔버스에 흰색 배경을 깐다
- 마우스 위치에 특정 도형( 원 )을 렌더링 한다.
- 해당 프레임에 대한 텍스쳐를 따온다.
- 텍스쳐를 쉐이더에서 FBM 처리를 한다.
- 다채로운 색감을 위해, 시간에 따라 hsl 을 바꿔서 색감을 입힌다.
여기에 이왕 전시할꺼, 전에 만든 VGesture를 사용하여 포인터 제스처를 추가해보기로 하였다.
Implemention
들어가기 앞서서, 팁을 하나 주자면, 왠만한 강심장이 아닌 이상, 반드시 frameBuffer 파이프라인을 생성하여 해당 파이프라인이 잘 동작하는지 확인하고 진행하는것을 추천한다.
파이프라인 꼬여서 에러나면 디버깅 하기가 굉장히 힘들다.
최종 buffer(canvas)에 렌더링을 하기위한 파이프라인은 다음과 같다.
- 검은색 평면에 흰색 공이 있는 텍스쳐를 계산한다
- 이전 텍스쳐 (초기는 흰색 배경의 텍스쳐)를 불러온다.
- FBM처리를 위해 1,2 텍스쳐를 계산한다
- 3번 텍스쳐를 렌더링한다
- 4번 텍스쳐를 버퍼에 저장한다
먼저 PlaneMesh가 전체 화면을 덮도록 세팅을 하고, Raycaster를 생성하여, Plane과 상호작용하는 지점에 SphereMesh를 생성한다.
   this.raycastPlane = new THREE.Mesh(
      new THREE.PlaneGeometry(100, 100),
      new THREE.MeshBasicMaterial({ color: 0xff0000, side: THREE.DoubleSide }),
    );

    this.dummy = new THREE.Mesh(
      new THREE.SphereGeometry(0.05, 30, 30),
      new THREE.MeshBasicMaterial({
        color: 0xffffffff,
        // map: new THREE.TextureLoader().load(particle),
        transparent: true,
      }),
    );
    this.scene.add(this.dummy);
    window.addEventListener("mousemove", (e) => {
      this.pointer.x = (e.clientX / this.width) * 2 - 1;
      this.pointer.y = -(e.clientY / this.height) * 2 + 1;

      this.trailCanvas.addTouch(this.pointer);

      this.raycaster.setFromCamera(this.pointer, this.camera);
      const intersects = this.raycaster.intersectObjects([this.raycastPlane]);
      if (intersects.length > 0) {
        this.dummy.position.copy(intersects[0].point);
      }
    });
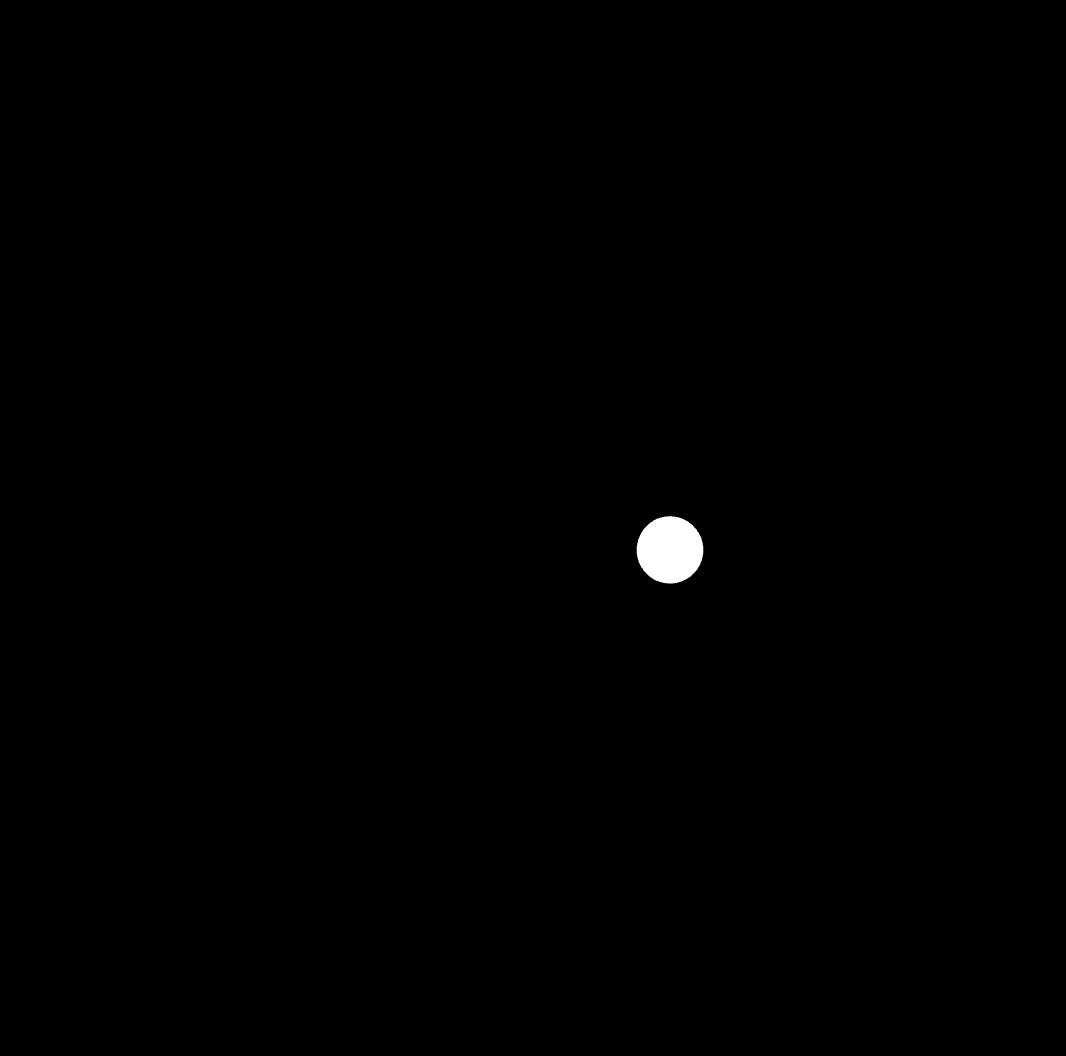
실행하면 다음처럼 잘 나온다.
참고로 raycasterPlane의 색상을 붉게한건 그냥 디버깅 용도이기에 신경 쓰지 않아도 된다.
이제 코어인 쉐이더 처리를 위한 버퍼를 생성해야한다.
나는 총 4개의 버퍼를 생성했는데, 마우스 인터렉션된 텍스처를 위한 버퍼 1개, 흰색 배경 (첫번째 프레임에서만 씀)을 위한 버퍼 1개, fbm 쉐이더를 위한 버퍼 1개, 이전 프레임 텍스쳐를 불러오기 위한 버퍼 1개, 이렇게 총 4개이다.
fbm에 관여하는 버퍼들을 fbo버퍼라고 칭하겠다.
이전 프레임 텍스처를 불러와야하는 이유는 수채화 잔상 때문이다.
    // 요게 마우스 인터렉션 결과를 렌더링할 버퍼
    this.sourceTarget = new THREE.WebGLRenderTarget(this.width, this.height);

    // 밑에 두놈들이 서로 스왑해댐, fbm처리를 위한 버퍼
    this.targetA = new THREE.WebGLRenderTarget(this.width, this.height);
    this.targetB = new THREE.WebGLRenderTarget(this.width, this.height);

	// 초기에만 사용함, 흰색 배경 텍스처 생성을 위한 버퍼
    this.renderer.setRenderTarget(this.whiteTarget);
    this.renderer.render(this.whiteScene, this.camera);

    this.fboScene = new THREE.Scene();
    this.fboCamera = new THREE.OrthographicCamera(-1, 1, 1, -1, 0, 1);

    this.fboMaterial = new THREE.ShaderMaterial({
      uniforms: {
        uTime: {
          value: this.time,
        },
        uDiffuse: {
          value: null, // 여기에 현재 마우스를 기반한 텍스처
        },
        uPrev: {
          value: this.whiteTarget.texture // 이전 텍스처 자리 (초기는 흰색)
        },
      },
      vertexShader: vertexFBO,
      fragmentShader: fragmentFBO,
    });

    this.fboQuad = new THREE.Mesh(new THREE.PlaneGeometry(2, 2), this.fboMaterial);
    this.fboScene.add(this.fboQuad);

    this.finalScene = new THREE.Scene();
    this.finalQuad = new THREE.Mesh(
      new THREE.PlaneGeometry(2, 2),
      new THREE.MeshBasicMaterial({
        map: this.targetA.texture,
      }),
    );

    this.finalScene.add(this.finalQuad);
이제 렌더링 하고, fbo 버퍼끼리 스왑만 해주면 된다.
	const time = this.timer.getElapsedTime();
    requestAnimationFrame(this.render.bind(this));

	// 현재 frame buffer를 텍스쳐 생성을 위한 버퍼로 바꾼다.
    this.renderer.setRenderTarget(this.sourceTarget);

    // frame buffer에 텍스쳐 연산을 한다
    this.renderer.render(this.scene, this.camera);

    //fbo 버퍼로 바꾼다. 해당 버퍼에 텍스쳐 연산을 할꺼임
    this.renderer.setRenderTarget(this.targetA);
    this.renderer.render(this.fboScene, this.fboCamera);

	// 쉐이더 값들을 넣어주자
    this.fboMaterial.uniforms.uTime.value = time;
    this.fboMaterial.uniforms.uDiffuse.value = this.sourceTarget.texture;
    this.fboMaterial.uniforms.uPrev.value = this.targetA.texture;


	// canvas에 렌더링하기 위해, 캔버스에 직접적으로 올라갈 material에 생성한 텍스쳐를 주자
    this.finalQuad.material.map = this.targetA.texture;

    // 이제 렌더러가 캔버스의 frame buffer를 바라보도록 바꾸자
    this.renderer.setRenderTarget(null);

    // 캔버스에 렌더링한다
    this.renderer.render(this.finalScene, this.fboCamera);

	// 이 시점에선 이미 현재 프레임에 대한 텍스쳐 연산은 완료되었다.
    // 다음 프레임에서도 현재 텍스쳐를 사용할 것이니, fbo 버퍼끼리 스왑해주자.
    let temp = this.targetA;
    this.targetA = this.targetB;
    this.targetB = temp;
이 시점에서 렌더링 했을 때, 흰색 화면만 나오는 것은 정상이다 (아무런 쉐이더 코드가 없는 경우)
이제 쉐이더 코드를 짜주자.
vertex shader에선 uv값만 fragment shader로 넘겨주자
void main(){
  gl_Position = projectionMatrix * modelViewMatrix * vec4(position, 1.0);
  vPosition = position;
  vUv = uv;
}
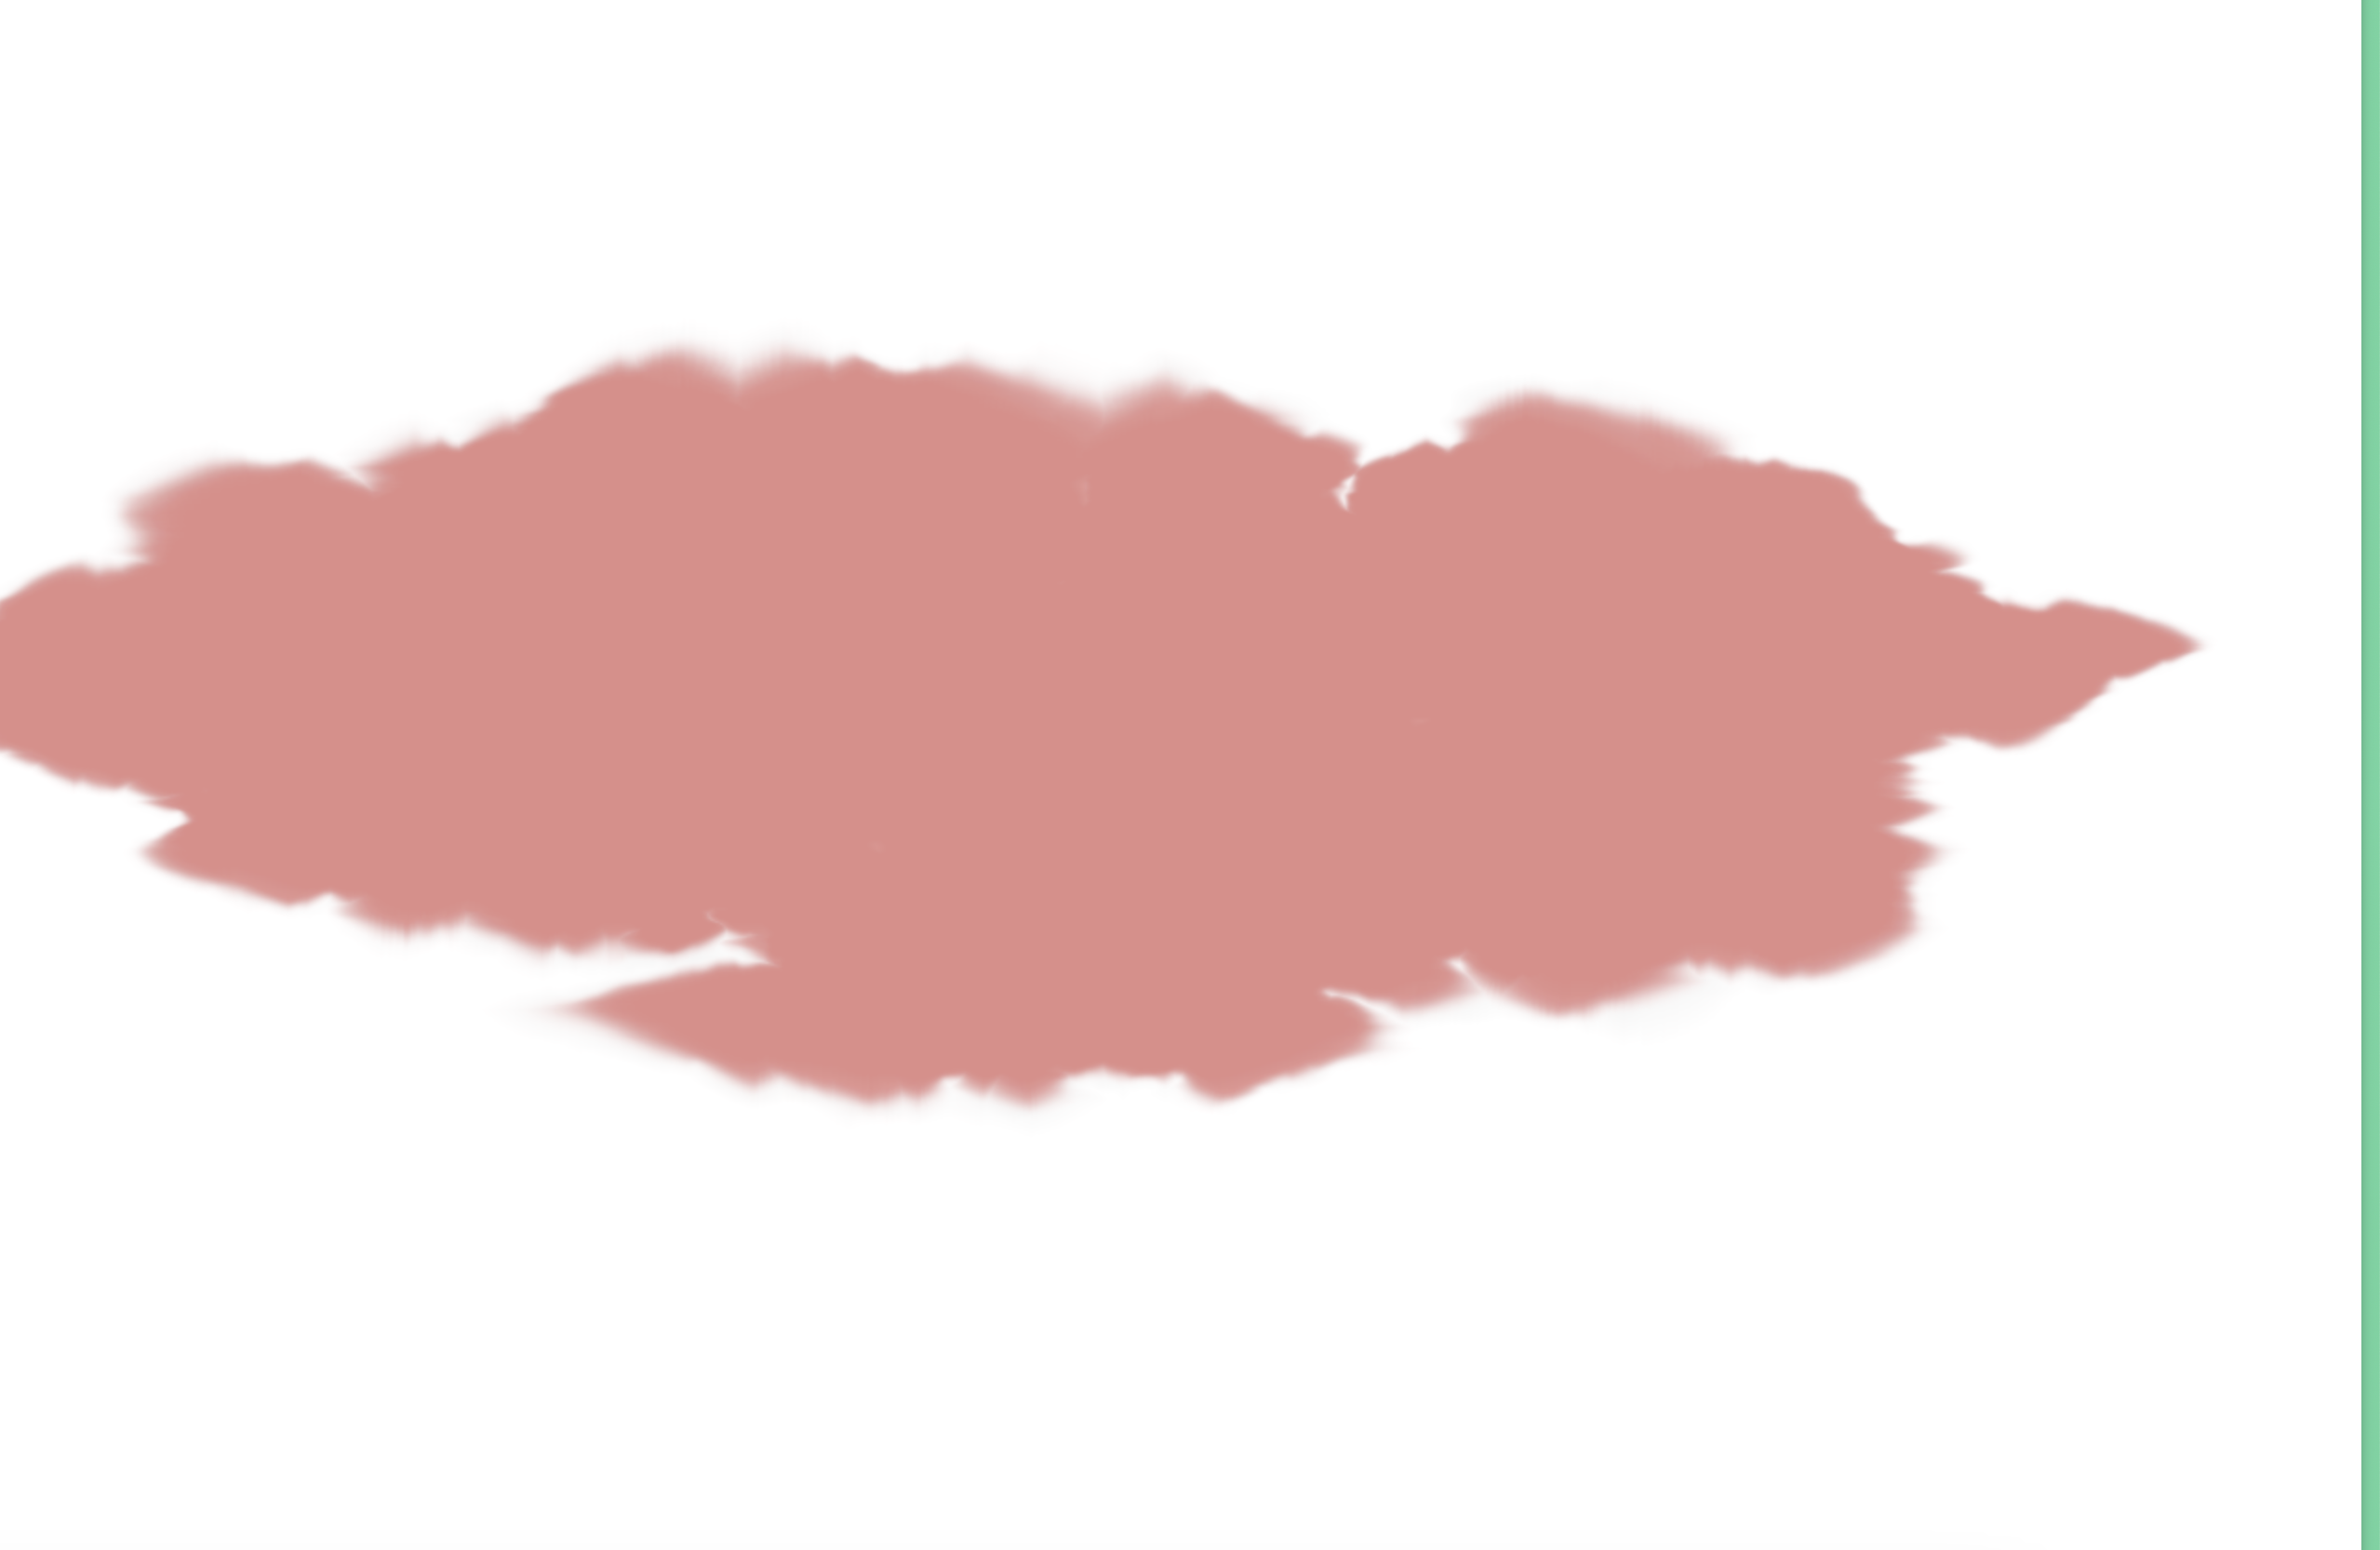
fragment shader에서는 fbm을 적용한다.
fbm noise의 경우 일반적으로 구름질감을 표현하기 좋은데, 이 특성을 이용하는 것이다.
이를 적용하기 위해, 마우스에 렌더링 된 원을 4방향 (상 하 좌 우)에 대해 노이즈를 적용하는 것이다.
그럼 원이 물감 퍼지듯이 퍼진다.
 vec4 color = texture2D(uDiffuse, vUv); // mouse movement
  vec4 prev = texture2D(uPrev, vUv); // previous frame


  vec2 aspect = vec2(1., uResolution.y / uResolution.x);
  //fbm noise
  vec2 disp = aspect * (fbm(vUv * 24.0, 4)) * 0.008; // speed of color spread

  vec4 texel = texture2D(uPrev, vUv);
  vec4 texel2 = texture2D(uPrev, vec2(vUv.x + disp.x , vUv.y));
  vec4 texel3 = texture2D(uPrev, vec2(vUv.x - disp.x , vUv.y));
  vec4 texel4 = texture2D(uPrev, vec2(vUv.x, vUv.y + disp.y));
  vec4 texel5 = texture2D(uPrev, vec2(vUv.x, vUv.y - disp.y));

  vec3 floodColor = texel.rgb;
  floodColor = blendDarken(floodColor, texel2.rgb);
  floodColor = blendDarken(floodColor, texel3.rgb);
  floodColor = blendDarken(floodColor, texel4.rgb);
  floodColor = blendDarken(floodColor, texel5.rgb);
floodColor를 렌더링하면 다음과 같다.
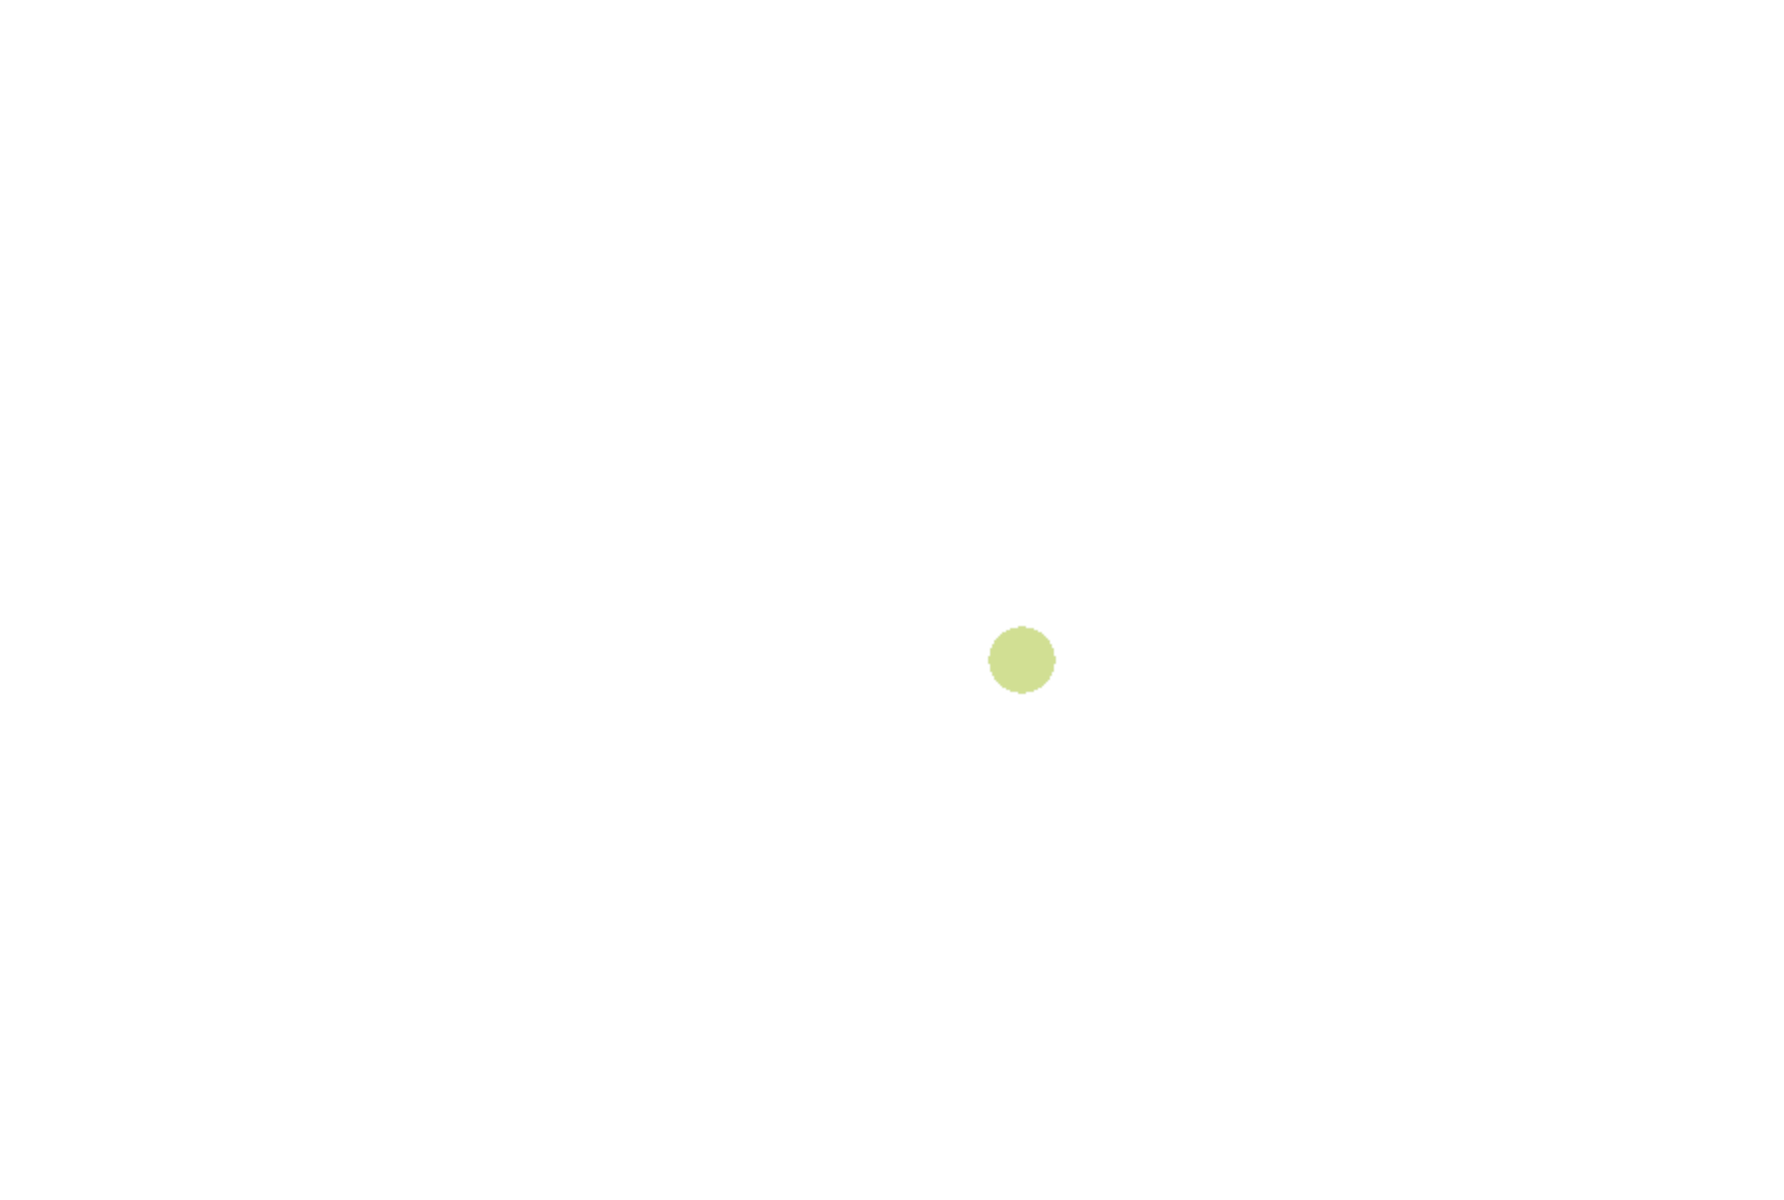
이제 결과물을 마우스와 섞기 위해 마우스 위치에 대한 색상값을 설정하면 다음과 같다.
float hue2rgb(float f1, float f2, float hue){
  if(hue < 0.0){
    hue += 1.0;
  }else if(hue > 1.0){
    hue -= 1.0;
  }

  float res;

  if((6.0 * hue) < 1.0){
    res = f1 + (f2 - f1) * 6. * hue;
  }else if((2.0 * hue) < 1.0){
    res = f2;
  }else if((3.0 * hue) < 2.0){
    res = f1 + (f2 - f1) * ((2.0 / 3.0) - hue) * 6.0;
  }else{
    res = f1;
  }
  return res;

}
vec3 hsl2rgb(vec3 hsl){
  vec3 rgb;
  if(hsl.y == 0.0){
    rgb = vec3(hsl.z);
  }else{
    float f2;
    if(hsl.z < 0.5){
      f2 = hsl.z * (1.0 + hsl.y);
    }else{
      f2 = hsl.z + hsl.y - hsl.y * hsl.z;
    }
      float f1 = 2.0 * hsl.z - f2;
      rgb.r = hue2rgb(f1, f2, hsl.x + (1.0 / 3.0));
      rgb.g = hue2rgb(f1, f2, hsl.x);
      rgb.b = hue2rgb(f1, f2, hsl.x - (1.0/ 3.0));
  }
  return rgb;
}

vec3 hsl2rgb(float h, float s , float l ){
  return hsl2rgb(vec3(h,s,l));
}


void main(){

...

vec3 gradient = hsl2rgb(fract(uTime * 0.01), 0.5,0.5);
 vec3 mouseColor= mix(vec3(1.), gradient, color.r);

  gl_FragColor = vec4(mouseColor.rgb, 1.);

}
그라디언트를 시간에 따라 hue값을 바꿔주는 함수를 통해 생성하고 마우스와 섞는다.
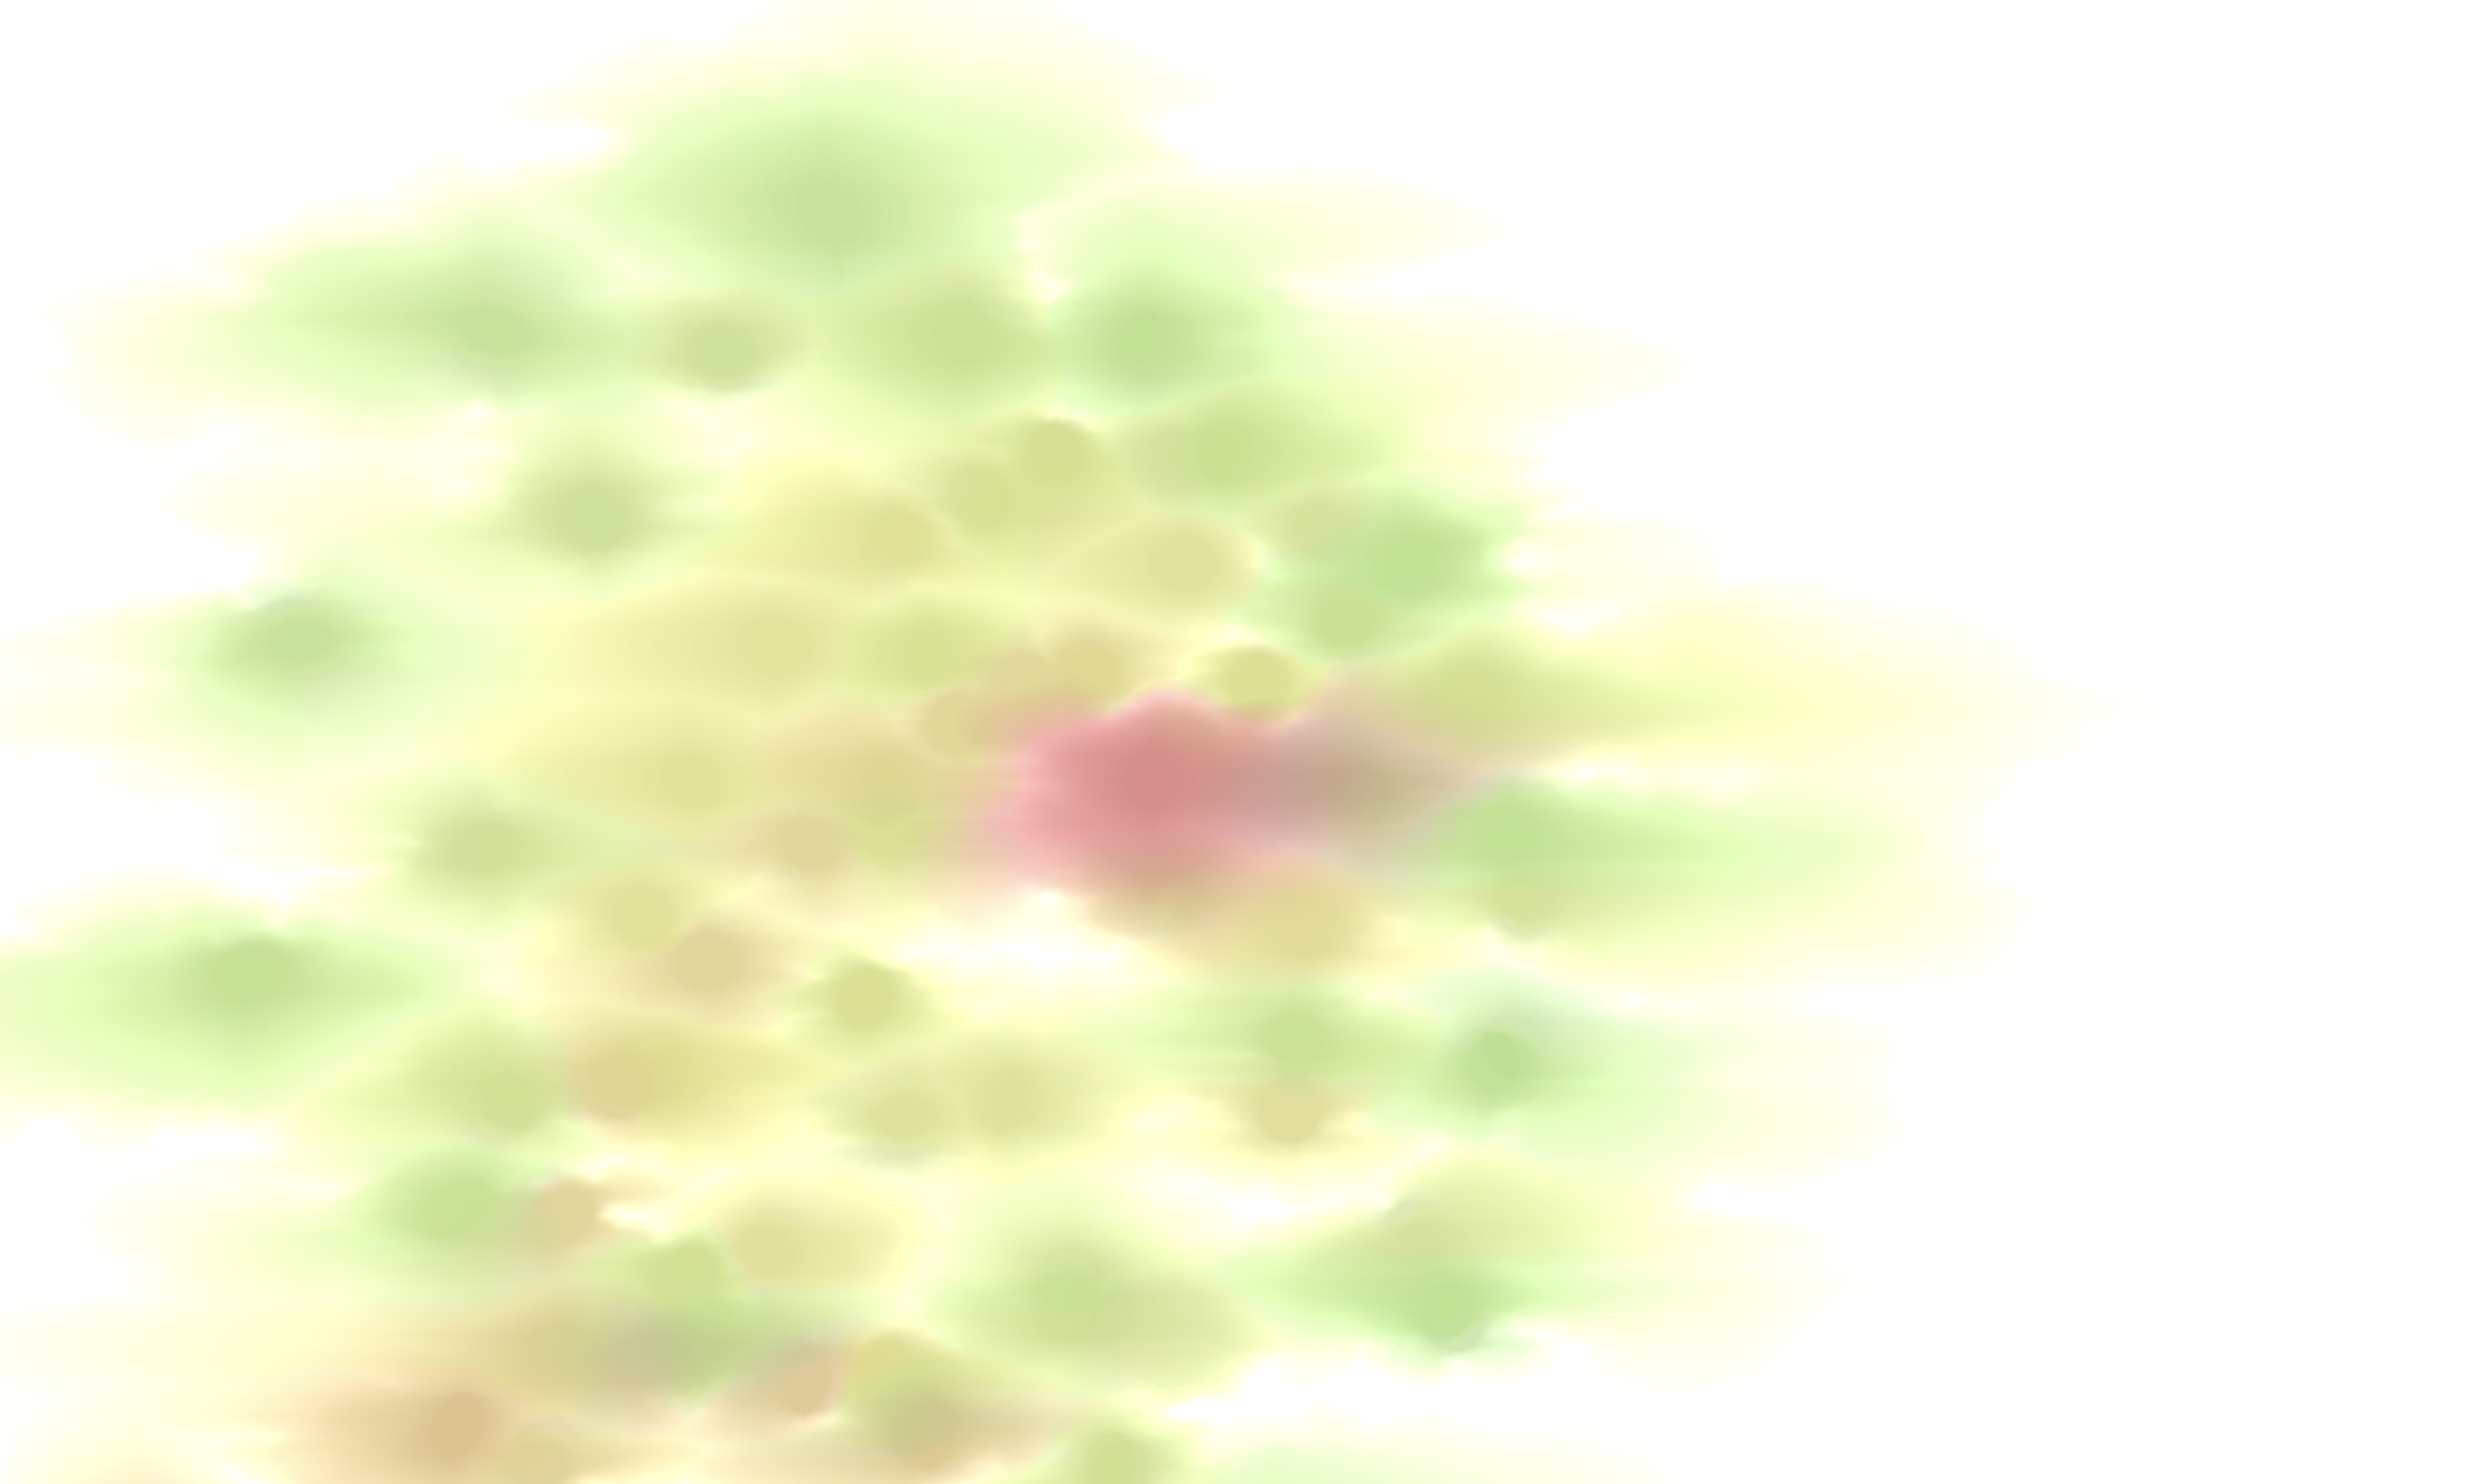
그리고 이제 이전 텍스쳐와 마우스 물감 이펙트를 모두 섞어주면 다음과 같다.
precision highp float;
uniform float uTime;
uniform sampler2D uDiffuse;
uniform sampler2D uPrev;
uniform vec4 uResolution;
varying vec3 vPosition;
varying vec2 vUv;
uniform vec4 uColor;


float rand(vec2 n) {
	return fract(sin(dot(n, vec2(12.9898, 4.1414))) * 43758.5453);
}

float noise(vec2 p){
	vec2 ip = floor(p);
	vec2 u = fract(p);
	u = u*u*(3.0-2.0*u);

	float res = mix(
		mix(rand(ip),rand(ip+vec2(1.0,0.0)),u.x),
		mix(rand(ip+vec2(0.0,1.0)),rand(ip+vec2(1.0,1.0)),u.x),u.y);
	return res*res;
}

float fbm(vec2 x, int numOctaves) {
	float v = 0.0;
	float a = 0.5;
	vec2 shift = vec2(100);
	// Rotate to reduce axial bias
    mat2 rot = mat2(cos(0.5), sin(0.5), -sin(0.5), cos(0.50));
	for (int i = 0; i < numOctaves; ++i) {
		v += a * noise(x);
		x = rot * x * 2.0 + shift;
		a *= 0.5;
	}
	return v;
}


float blendDarken(float base, float blend){
  return min(blend, base);
}
vec3 blendDarken(vec3 base, vec3 blend){
  return vec3(blendDarken(base.r, blend.r),blendDarken(base.g, blend.g),blendDarken(base.b, blend.b) );
}
vec3 blendDarken(vec3 base, vec3 blend, float opacity){
  return (blendDarken(base, blend))* opacity + base*(1.-opacity);}


float hue2rgb(float f1, float f2, float hue){
  if(hue < 0.0){
    hue += 1.0;
  }else if(hue > 1.0){
    hue -= 1.0;
  }

  float res;

  if((6.0 * hue) < 1.0){
    res = f1 + (f2 - f1) * 6. * hue;
  }else if((2.0 * hue) < 1.0){
    res = f2;
  }else if((3.0 * hue) < 2.0){
    res = f1 + (f2 - f1) * ((2.0 / 3.0) - hue) * 6.0;
  }else{
    res = f1;
  }
  return res;

}
vec3 hsl2rgb(vec3 hsl){
  vec3 rgb;
  if(hsl.y == 0.0){
    rgb = vec3(hsl.z);
  }else{
    float f2;
    if(hsl.z < 0.5){
      f2 = hsl.z * (1.0 + hsl.y);
    }else{
      f2 = hsl.z + hsl.y - hsl.y * hsl.z;
    }
      float f1 = 2.0 * hsl.z - f2;
      rgb.r = hue2rgb(f1, f2, hsl.x + (1.0 / 3.0));
      rgb.g = hue2rgb(f1, f2, hsl.x);
      rgb.b = hue2rgb(f1, f2, hsl.x - (1.0/ 3.0));
  }
  return rgb;
}

vec3 hsl2rgb(float h, float s , float l ){
  return hsl2rgb(vec3(h,s,l));
}
// drawings..

vec3 bgColor= vec3(1.,1.,1);
void main(){
  vec4 color = texture2D(uDiffuse, vUv); // mouse movement
  vec4 prev = texture2D(uPrev, vUv); // previous frame


  vec2 aspect = vec2(1., uResolution.y / uResolution.x);
  //fbm noise
  vec2 disp = aspect * (fbm(vUv * 24.0, 4)) * 0.008; // speed of color spread

  vec4 texel = texture2D(uPrev, vUv);
  vec4 texel2 = texture2D(uPrev, vec2(vUv.x + disp.x , vUv.y));
  vec4 texel3 = texture2D(uPrev, vec2(vUv.x - disp.x , vUv.y));
  vec4 texel4 = texture2D(uPrev, vec2(vUv.x, vUv.y + disp.y));
  vec4 texel5 = texture2D(uPrev, vec2(vUv.x, vUv.y - disp.y));

  vec3 floodColor = texel.rgb;
  floodColor = blendDarken(floodColor, texel2.rgb);
  floodColor = blendDarken(floodColor, texel3.rgb);
  floodColor = blendDarken(floodColor, texel4.rgb);
  floodColor = blendDarken(floodColor, texel5.rgb);

  vec3 gradient = hsl2rgb(fract(uTime * 0.01), 0.5,0.5);

  vec3 mouseColor= mix(vec3(1.), gradient, color.r);

  vec3 waterColor = blendDarken(prev.rgb, floodColor * (1. + 0.005), 0.2);

  vec3 finalColor = blendDarken(waterColor, mouseColor, .5);

  gl_FragColor = vec4(finalColor.rgb,1.0);

// min(bgColor, finalColor * (1. + 0.00001)),1.0);
// min(bgColor * 1., finalColor * (1. + 0.005) + 0.0006869),1.0);
// min(bgColor * 1., finalColor * (1. + 0.01) + 0.001),1.0);
}
https://exhibition-paint.vercel.app/
painting
exhibition-paint.vercel.app
여기까지 해서 일단 전시회에 전시를 했는데.... 14Island에서 보여준 정말 부드럽고 실제같은 물감 이펙트는 나오지 않았다...
개인적으로 너무 궁금하여 관련하여 찾아봤지만 글들도 없어서 직접 한번 디컴파일 해보기로 했다.